
Remember those cool, creamy desserts from family gatherings? Poke cake recipes bring back that nostalgic charm while letting you get creative with flavors. First introduced in the 1970s by General Foods Kitchen, these treats remain a crowd favorite for good reason.
Perfect for birthdays, holidays, or summer parties, they require minimal effort. Just bake, poke, and chill! The best part? You can customize them with different flavors, from fruity Jell-O to rich chocolate. Each bite delivers a burst of moisture and sweetness.
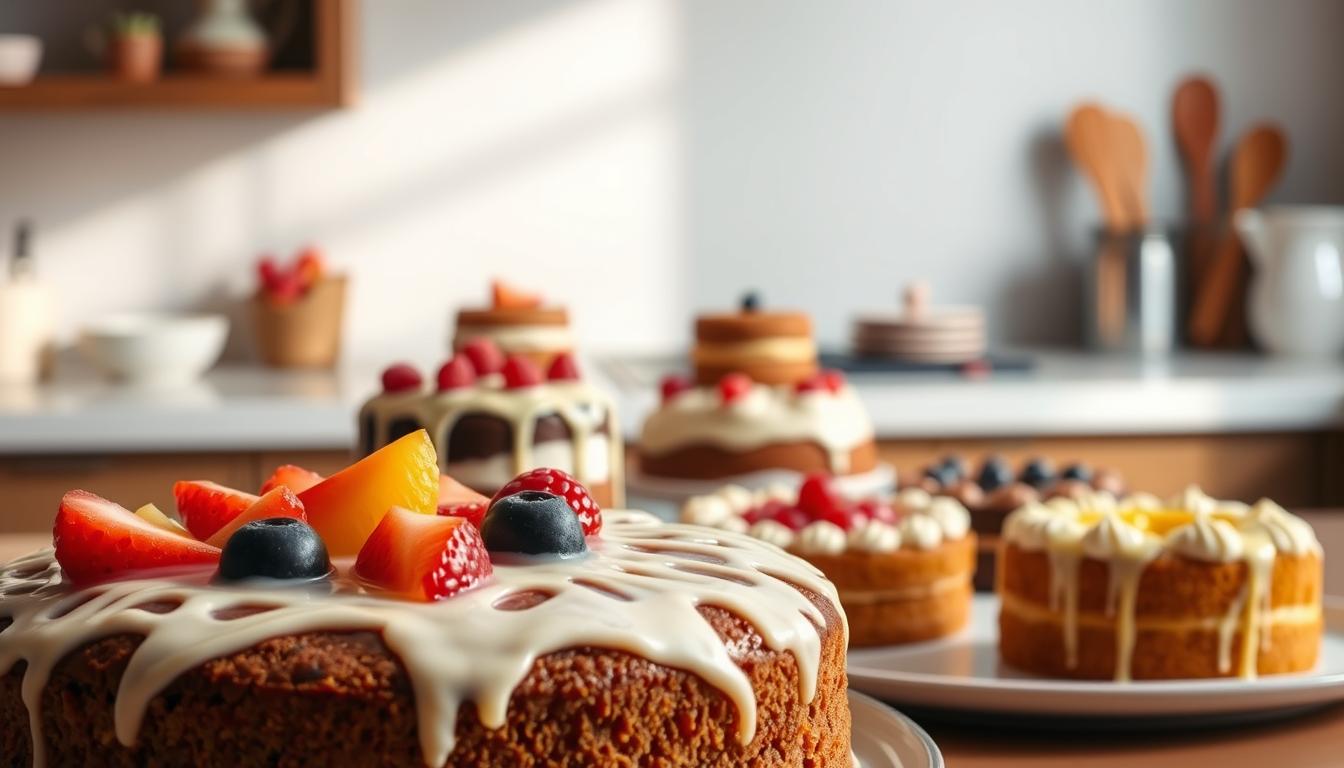
With an average of 12-14 servings per pan, they’re ideal for sharing. Plus, the 3-4 hour chill time means stress-free prep. Whether you prefer classic vanilla or bold twists, there’s a version for every taste.
Key Takeaways
- Poke cakes blend retro charm with modern versatility
- Originated in the 1970s and remain popular today
- Easy to prepare with customizable flavors
- Perfect for gatherings, serving 12-14 people
- Require minimal active prep time
What Is a Poke Cake?
The secret to a perfect dessert lies in its holes—yes, holes! This treat starts with a baked cake mix in a pan, pierced while warm to create tiny channels. Then, liquid filling (like Jell-O or pudding) is poured over, seeping into every crevice for maximum flavor.

Originally, these desserts used vanilla pudding in the 1970s. Today, vibrant Jell-O flavors dominate, adding both color and taste. The result? A moist, layered texture that’s far from ordinary.
Tools matter: A standard fork works, but skewers create decorative patterns. After adding the filling, chill it in the refrigerator for 3-4 hours. This lets the flavors meld and the topping set perfectly.
- Traditional: Pudding-based, richer texture
- Modern: Jell-O-infused, brighter flavors
- Shortcut: Use store-bought cakes to save time
Whether you’re a beginner or a pro, this method guarantees a crowd-pleaser. Just bake, poke, fill, and chill!
Classic Poke Cake Recipes
Ready to make a dessert that’s both easy and impressive? This classic version combines a fluffy base with a burst of fruity gelatin. Perfect for potlucks or weeknight treats, it’s a no-fail crowd-pleaser.
Ingredients You’ll Need
Gather these simple ingredients:
- 1 box (18.25 oz) white mix
- 4 large eggs (room temperature)
- 1 cup water
- ¼ cup vegetable oil
- 3 oz flavored gelatin (like strawberry or lime)
Use a 9×13 metal pan for even baking. Its sturdy base prevents soggy spots.
Step-by-Step Instructions
- Prep: Heat your oven to 350°F (175°C). Grease the pan lightly.
- Mix: Blend the mix, eggs, water, and vegetable oil until smooth. Pour into the pan.
- Bake: 45–50 minutes, or until a toothpick comes out clean. Cool for 15 minutes.
- Poke: Use a fork to make holes in ½-inch intervals.
- Fill: Dissolve gelatin in 1 cup boiling water, then add 1 cup ice water. Pour over the cake.
Chill for 4 hours. Store refrigerated below 40°F to keep it fresh.
Creative Poke Cake Variations
Transform ordinary ingredients into show-stopping treats with these twists. Whether you love fruity bursts or rich chocolate, there’s a version to match your taste. Best part? Each variation keeps the same easy mix-and-chill method.
Strawberry Jell-O Delight
Use a 3oz box of strawberry gelatin for a vibrant, fruity punch. Pour it over a baked vanilla base and chill. Garnish with fresh berries and whipped topping for extra freshness.
Decadent Chocolate Pudding Twist
Swap vanilla pudding for instant chocolate (5.9oz). The result is a creamy, fudgy layer that pairs perfectly with a light cream finish. Perfect for chocolate lovers!
Seasonal and Themed Ideas
Match your dessert to the occasion:
- Patriotic: Layer blueberry pie filling under red Jell-O for a 4th of July star.
- Fall: Spice cake with caramel drizzle and toasted pecans.
- Holiday: Peppermint gelatin topped with crushed candy canes.
“Every season deserves its own signature dessert—colorful, flavorful, and unforgettable.”
For a lighter option, try sugar-free gelatin and light whipped topping. Store leftovers in the refrigerator to keep them fresh. The possibilities are endless!
Tips for the Perfect Poke Cake
Small tweaks make a big difference—discover how to perfect your dessert every time. Whether you’re a beginner or a seasoned baker, these pro tips ensure flawless results.
Start with room-temperature ingredients. Cold eggs can cause uneven mixing, leading to dense spots. Let them sit out for 30 minutes before blending.
Choose the right pan. A Nordic Ware metal pan distributes heat evenly, giving you a golden crust without overbaking. Avoid glass pans—they retain too much heat.
Poke with care. Use a skewer or fork to create holes ½ inch apart. Over-poking weakens the structure, making it crumble when sliced.
Master the Jell-O ratio. Mix 1 cup boiling water with 1 cup cold water—no shortcuts! Too much liquid makes the base soggy.
Freeze like a pro. Unfrosted desserts last up to 3 months wrapped tightly. For frosted versions, flash-freeze for 1 hour before wrapping to prevent smudges.
Use full-fat whipped topping. Light versions like Cool Whip® can separate, creating a watery layer. For a vegan twist, try coconut cream.
Garnish smartly. Add fresh fruit or sprinkles after chilling to maintain texture. Store leftovers in the refrigerator below 40°F.
“Baking is science—precision matters. But with these tricks, even mistakes taste delicious.”
High-altitude bakers: Reduce baking powder by ⅛ tsp to prevent collapse. Swap eggs for flax eggs (1 tbsp ground flax + 3 tbsp water) for a vegan-friendly version.
Conclusion
Whip up a dessert that’s as fun to make as it is to eat. With a 5-star ease rating, even beginners can master the perfect custard-to-cake ratio. Experiment with flavors—swap fillings or toppings to match your mood.
Need a stress-free treat? Prep it ahead and chill in the refrigerator for up to 3 days. Remember: USDA guidelines recommend a 2-hour max at room temp for food safety.
Share your creations online—tag #PerfectDessert for inspiration! Double the servings for potlucks, and enjoy every bite. Happy baking!
Pro tip: Freeze extras for a quick sweet fix later.